Custom Product Development
Turn a Product Gap Into a Physical Prototype
Develop custom 3D-printed craft tools from a product idea, workflow problem, reference image or existing accessory — without starting with traditional tooling or a large production commitment.
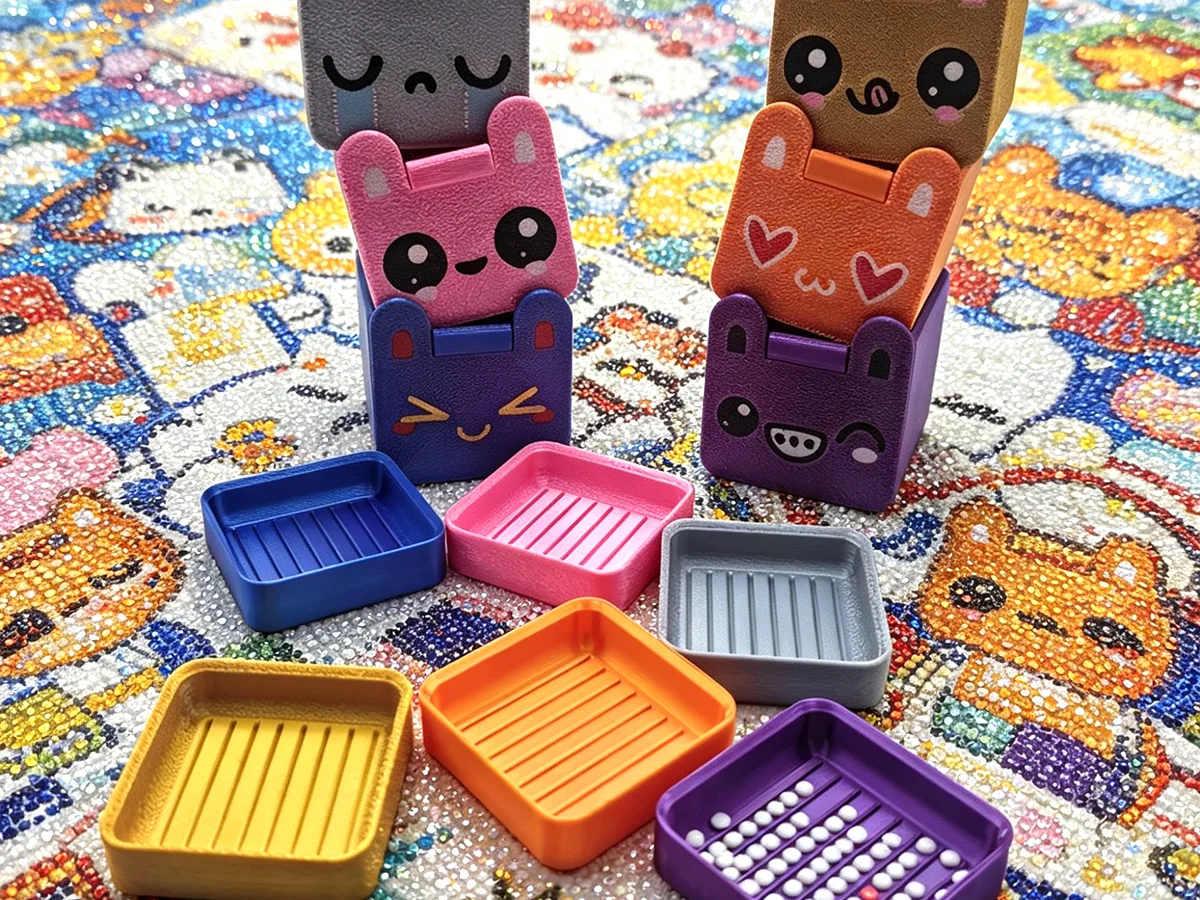
Starting Point
You Don’t Need a Finished CAD File to Start
The first step is to understand what the product needs to do — not to force an idea into an existing catalog item.
You can start with
- A rough sketch
- A reference image
- An existing product
- A workflow problem
- A product gap in the current range
- A size or structural requirement
What happens first
The requirement is discussed before any modelling starts. Dimensions, function, intended user and production method all affect whether a structure is practical to print and to use.
Some ideas work as a one-off prototype and do not survive contact with actual use. Catching that early is cheaper than producing a small batch that does not solve the problem.
Customization
What Can Be Customized
Customization can involve how the product looks, how it is built, or how it changes the user’s workflow.
Product Appearance
- Color
- Size
- Shape
- Text / branding
- Visual theme
Product Structure
- Closures
- Sliding structures
- Compartments
- Grooves
- Handles
- Stackable structures
- Functional layouts
Product Workflow
- Sorting
- Alignment
- Pickup
- Pouring
- Storage
- Repeated-use handling
Process
A Simple Development Process
- 01Understand the Gap
- 02Define the Direction
- 03Prototype
- 04Review & Adjust
- 05Small-Batch Production
Testing
Built for Testing Before Scaling
No Traditional Tooling at the Prototype Stage
Prototype stages do not depend on production tooling being prepared in advance.
Changes Are Easier to Evaluate
A physical sample makes a structural change something you can hold and test, rather than something described in a message.
Suitable for Niche Products
Products with a narrow audience can be evaluated without a large catalogue commitment.
Small-Batch Friendly
Quantities can stay modest while a product is still being proven in the market.
Current Focus
Current Development Focus
Our current focus is deliberately narrow so product development can stay closely connected to real craft workflows.
Diamond Painting Tools
- Reusable trays
- Magnetic / closable structures
- Themed tools
- Workflow accessories
Who It Fits
Best Suited to Businesses Testing Differentiated Craft Products
Craft Brands
Independent Craft Stores
Small Creative Businesses
Product Teams
Sample Preparation
Before We Make a Sample
The more of the following that can be provided, the more useful the first response will be.
- Intended use
- What the product is expected to do during a real session.
- Target product or user
- Who the product is for, and which product range it sits alongside.
- Key structure or function
- The part of the design that has to work — closure, alignment, grip, storage or fit.
- Approximate dimensions
- Even rough measurements help establish whether the size is practical to print and to use.
- Customization needs
- Color, text, branding or any structural difference from a standard reference.
- Existing design or new development
- Whether a reference already exists or the structure is still open.
- Shipping destination
- Country or region, so shipping and import cost can be discussed before dispatch.
Qualified B2B sample requests are reviewed individually. Shipping and import costs are discussed before dispatch.
Before You Ask
Common Questions
MOQ
Development Time
Pricing
Sample Policy
Have an Idea, Reference Product or Workflow Problem?
Send us what you have. We can first determine whether it is suitable for prototyping and small-batch development.